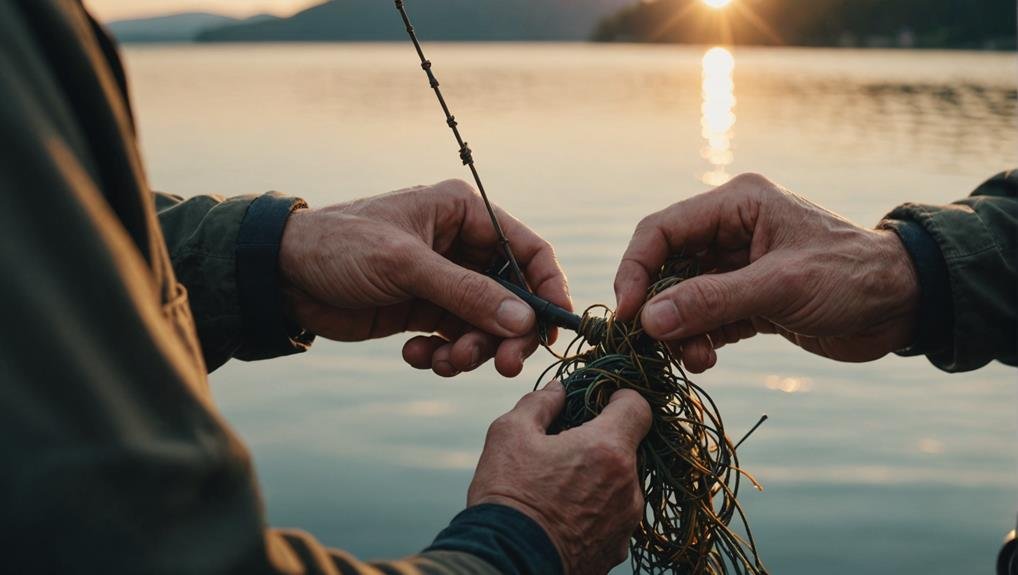
When it comes to fishing, knowing how to tie the right Fish Knots can make all the difference between landing a trophy catch and telling stories about the one that got away. You’ll find that each knot, whether it’s the Improved Clinch Knot, Palomar Knot, or Blood Knot, serves a unique purpose, depending on your gear and technique. Understanding these nuances is essential for any angler aiming for success. So, how do you determine which knot suits your specific needs and conditions? Let’s explore the intricacies and applications of these essential fishing knots.
Key Takeaways
- The Improved Clinch Knot is reliable for securing lines to hooks, lures, or swivels.
- The Palomar Knot is ideal for braided lines and prevents line twists.
- The Turle Knot is essential for fly and general fishing with monofilament lines.
- The Blood Knot offers a slim profile, enhancing smooth casting and reeling.
- Snelling a Hook ensures the hook hangs straight, reducing tangles and increasing hook-up rates.
Improved Clinch Knot
The Improved Clinch Knot is your go-to choice for securing lines to hooks, lures, or swivels when fishing. It’s a reliable and trusted knot for monofilament and fluorocarbon lines. First, thread the fishing line through the hook eye and wrap it around itself five to seven times. This creates a series of loops that add to the knot’s strength.
Next, take the end of the line and pass it back through the small loop near the hook eye. Then, pull it through the big loop you just formed. This additional tuck under the final turn gives the Improved Clinch Knot its name and provides extra security. It guarantees a strong connection between your fishing line and the hook, giving you confidence that your setup won’t fail during a catch.
While the Improved Clinch Knot is versatile, it’s best suited for lines up to 30lb test. Heavier lines might need a different knot for peak performance.
Palomar Knot
You’ll appreciate its simplicity and strength when you’re ready to tie the Palomar Knot.
It’s a favorite among anglers for securing hooks and preventing line twists.
Let’s explore how to tie this knot and why it’s so advantageous.
Tying the Palomar Knot
Master the Palomar Knot in four simple steps to guarantee a strong and reliable connection between your fishing line and hook. Perfect for braided fishing lines, the Palomar Knot is easy to tie and ensures your hook stays securely attached, preventing any unexpected slips.
First, double your fishing line to create a loop. Ensure the loop is long enough to pass through the eye of the hook. Next, feed the loop through the eye of the hook, making certain that both sides of the loop are even.
Now, tie an overhand knot with the doubled line, but don’t tighten it yet. Carefully pass the hook through the loop you’ve created. Be sure to keep the hook within the loop to avoid any tangles or twists.
Finally, pull both ends of the line to tighten the knot securely against the eye of the hook. Moisten the knot before fully tightening it to ensure a smooth, secure finish.
Palomar Knot Advantages
Due to its strength and simplicity, the Palomar knot stands out as a favorite among anglers for securing hooks. It’s not just easy to tie; it’s also incredibly effective.
One of the main reasons anglers love the Palomar knot is its remarkable line strength. It ensures a solid connection between the fishing line and hook, which is essential for landing big catches.
The Palomar knot excels, especially with braided lines. Braided lines can be slippery and challenging to secure, but the Palomar knot grips tightly, reducing the risk of slippage. This knot doesn’t just offer strength and prevents line twisting during tying, which means fewer headaches for you while fishing.
Another advantage is that the Palomar knot can be tied in four steps. Double the line, pass it through the hook’s eye, tie an overhand knot, and loop the hook through the resulting loop. This simplicity makes it ideal for both novice and experienced anglers.
Turle Knot

When tying the Turle Knot, you’ll appreciate its simplicity and reliability, especially for attaching hooks. It’s perfect for fly and general fishing, but watch out for common mistakes like not securing the knot properly.
Understanding its technique and best applications guarantees a strong connection every time.
Knot Tying Technique
Tying the Turle Knot is straightforward and gives you a secure connection for your fishing gear. This knot, known for its reliability, is especially handy when attaching hooks, lures, or swivels to your line. To start, thread your line through the eye of your hook or lure. Create a loop by passing the tag end behind the standing line. Then, several times, wrap the tag end around the loop and the standing line, ensuring the wraps are snug. Finally, pass the tag end through the loop you initially created and pull tight.
Here’s a quick reference table to help you visualize the steps:
| Step | Action | Result |
|---|---|---|
| 1 | Thread line through the eye | The line is ready for knot formation |
| 2 | Create a loop | Basis for the knot |
| 3 | Wrap tag end around the loop | Secure wraps |
| 4 | Pass the tag end through the loop | The knot prepared to be tightened |
Unlike joining lines of different diameters with a Uni Knot or a Double Surgeons Knot, the Turle Knot focuses on attaching the line to the the terminal tackle. Its design ensures that your connection remains strong and dependable, making it a favorite among anglers for its simplicity and effectiveness.
Best Applications
Understanding how to tie the Turle Knot is just the beginning; knowing its best applications can greatly enhance your fishing success. This knot excels at securing a hook to a line, making it an essential addition to your arsenal of fishing knots. Anglers favor its importance and strength, especially when using monofilament lines.
When targeting various fish species, the Turle Knot provides the reliability you need. Its design ensures a secure connection between your hook and line, essential for preventing lost catches. Whether you’re fishing in freshwater or saltwater, this knot is versatile enough to handle different environments and conditions.
Using the Turle Knot with monofilament lines is particularly effective because it maintains the line’s integrity. Unlike other knots, it doesn’t weaken the line, giving you confidence in your setup. As an angler, you know that every component of your gear matters, and this knot helps secure that your hook stays firmly in place during those critical moments when a fish bites.
Incorporate the Turle Knot into your fishing routine, and you’ll likely see improved performance and more successful catches.
Common Mistakes
One common mistake anglers make with the Turle Knot isn’t tightening it properly, leading to weak connections and potential slippage. When the knot isn’t cinched down correctly, it can easily come loose, especially under the strain of a big catch. Practice tightening the knot fully to guarantee it holds firm.
Another issue arises from using the wrong type or diameter of the line. If the line is too thick or too thin, the Turle Knot may not perform at its best. Always match the line’s diameter to the knot’s knot’s specific requirements for peak strength.
Many anglers also fail to follow the exact steps when tying the Turle Knot. Unlike simpler knots like the Surgeons Knot or Orvis Knot, the Turle Knot demands precision. Skipping or altering steps can compromise the knot’s integrity.
Additionally, be wary of using a double line with the Turle Knot. While a double line might work well with a Blood Knot, it can complicate the Turle Knot and lead to failure.
Lastly, don’t rush the process. Take your time to tie the knot correctly and practice regularly. Mastering the Turle Knot will prevent these common mistakes and ensure your fishing experience is successful.
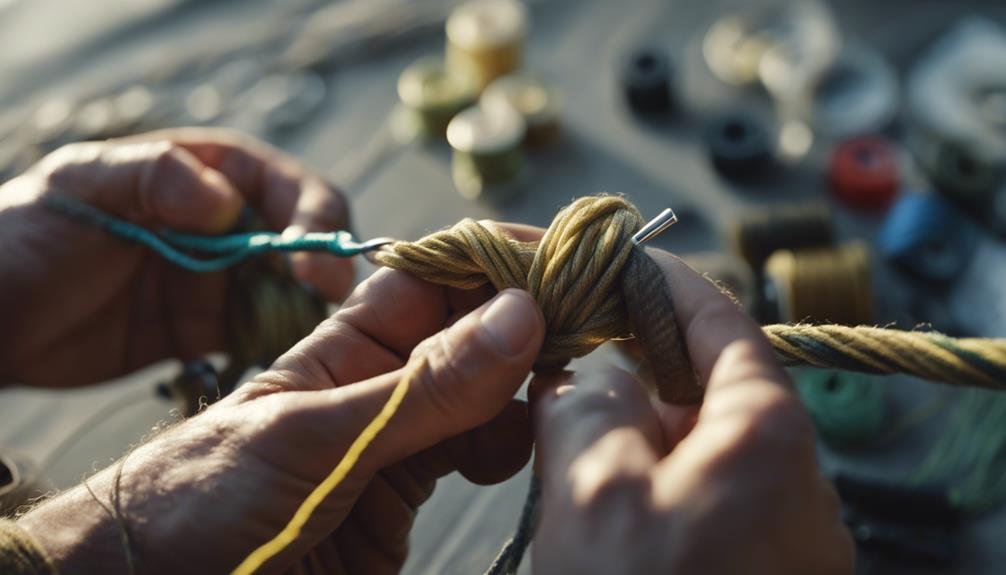
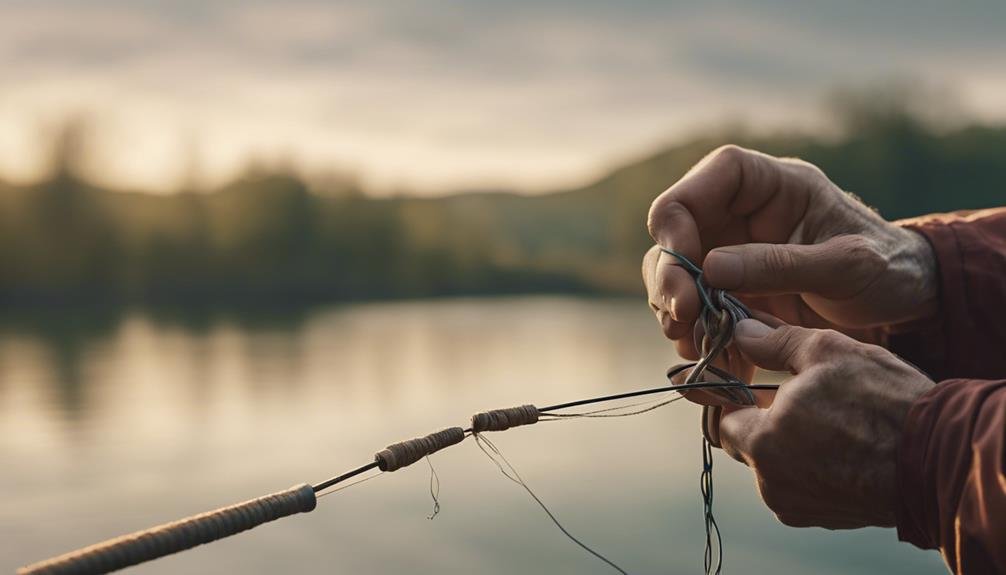
Blood Knot
The Blood Knot is an essential skill in fly fishing. It is. It is perfect for joining two lines of similar diameter with a strong and reliable connection. You’ll often use it to connect your tippet to the leader, ensuring a smooth shift.
To tie this knot, start by overlapping the ends of the two lines you’re joining. Wrap one end around the other line about five to seven times, then repeat this process with the other end. This symmetrical wrapping creates a sturdy bond.
Next, bring the two loose ends back between the lines where they initially overlapped, ensuring a firm and snug fit. Tighten the knot by pulling on the standing lines while holding the loose ends. This method results in a slim profile, allowing the knot to pass through guides without snagging, which is important for smooth casting and reeling.
Mastering the Blood Knot enhances your fly fishing experience and ensures a reliable connection every time. With practice, tying this knot becomes second nature, giving you confidence that your lines will hold strong even under the strain of a big catch.
Double Surgeons Loop
The Double Surgeons Loop is an excellent choice when you need a quick and dependable way to create a loop at the end of your line. This strong and reliable knot is particularly popular in fly fishing for attaching leaders or tippets to the main fly line. Its simplicity and effectiveness make it a go-to knot for anglers of all skill levels.
To tie the Double Surgeons Loop, start by doubling the end of your line to form a loop. Then, create two overhand knots with the doubled line. First, pass the loop through the overhand knot once and pull it tight. Next, pass it through the second overhand knot and pull all four strands to tighten the loop securely. You’ll end up with a sturdy loop that resists slipping and maintains its strength under tension.
The versatility of this knot shines when you use it with both monofilament and braided fishing lines. Whether you’re dealing with thin, flexible lines or heavier, more robust ones, the Double Surgeons Loop provides a solid connection at the ends of the line. It’s a practical, reliable solution for many fishing scenarios.
Wire Line to Mono Knot
If you’re targeting toothy predators, mastering the Wire Line to Mono Knot is crucial for guaranteeing your line holds strong. This knot is designed to join a wire leader to a monofilament or fluorocarbon fishing line, making it perfect for those going after pike, musky, or barracuda. The strength and reliability of this knot mean your wire leader won’t slip or come loose, even during an intense fight with a big fish.
To tie the Wire Line to Mono Knot, follow these steps carefully. First, overlap the wire leader and mono line by about six inches. Next, twist the wire around the mono five to seven times, then pass the end of the wire back through the first twist. Pull the knot tight, and trim any excess. This guarantees a strong connection that will hold up against sharp teeth and powerful runs.
Here’s a quick reference table to help you visualize the process:
| Step | Action | Result |
|---|---|---|
| 1 | Overlap wire and mono by six inches | Ready to tie |
| 2 | Twist the wire around mono 5-7 times | Creates initial wraps |
| 3 | Pass the wire end through the first twist | Secures the connection |
| 4 | Pull tight and trim excess | Strong, reliable knot |
With this knot, you can attach your line to a hook, including a treble hook, and confidently face any toothy predator.
Snelling a Hook
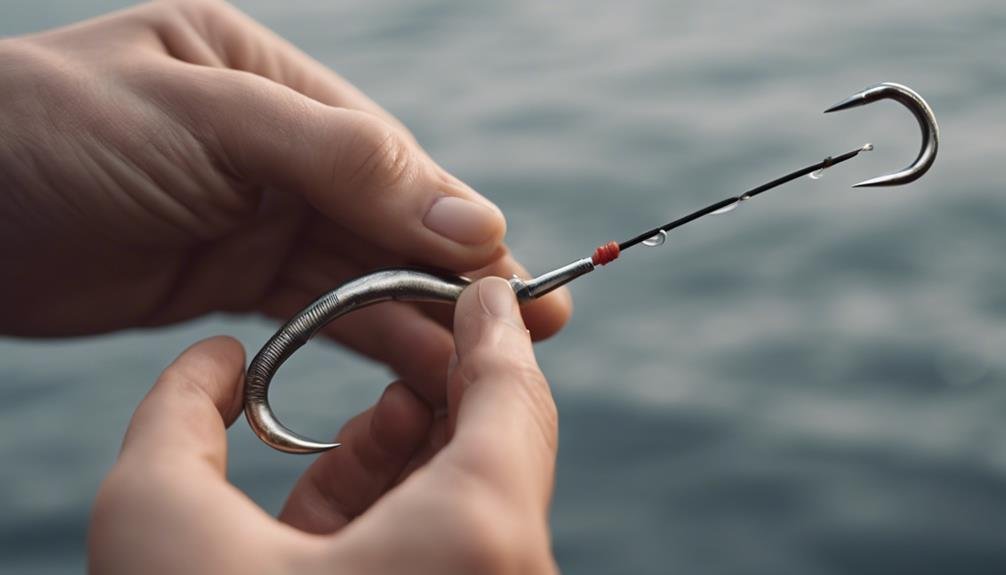
Now that you’ve mastered the Wire Line to Mono Knot, let’s focus on snelling a hook to secure a straight-line pull. Snelling a hook involves tying your fishing line directly to the hook, bypassing the eyelet entirely. This method is often used because it guarantees the hook hangs straight, essential for reducing tangles and increasing hook-up rates.
Start by threading the end of the line through the eye of the hook from the point side. Pull enough line through to allow for wrapping. Create a small loop along the hook’s shank and hold it in place. Wrap the tag end around the shank and the loop, working towards the point, typically about six to eight turns.
Once you’ve completed the wraps, thread the tag end back through the loop and pull it tight. To secure everything, use an overhand knot with the tag end. This extra step locks the wraps in place, ensuring they don’t unravel.
Snelling a hook is often used for live bait fishing or targeting bottom-dwelling fish, offering a strong connection and a straight pull that increases your chances of a successful catch. It’s a simple yet effective knot every angler should know.
Conclusion
Mastering fishing knots guarantees you won’t lose that big catch. Whether using the Improved Clinch Knot, Palomar Knot, Turle Knot, Blood Knot, Double Surgeons Loop, Wire Line to Mono Knot, or Snelling a Hook, each technique boosts your success.
Take the time to practice these knots, and you’ll find yourself more confident and prepared for your fishing adventures. Remember, the right knot can make all the difference between a trophy fish and a tale of the one that got away.
FAQs
What are the best fish knots for beginners?
The best fish knots for beginners include the Improved Clinch Knot, Palomar Knot, and Loop Knot. These knots are easy to tie and provide reliable connections for various fishing applications.
How do you tie an Improved Clinch Knot?
To tie an Improved Clinch Knot:
- Thread the line through the hook eye and wrap it around the standing line five to seven times.
- Pass the tag end through the small loop near the hook eye, then back through the big loop you created.
- Moisten the knot and pull the tag end to tighten. Trim the excess line.
What is the purpose of a Loop Knot in fishing?
A Loop Knot creates a non-slip loop at the end of the line, allowing the lure or bait to move more freely and naturally in the water. This knot is particularly useful for lures that need a lot of action, such as jigs and soft plastics, enhancing their effectiveness in attracting fish.