When tying fishing knots, understanding the basics can greatly improve your success rate on the water. You might think it’s a simple task, but choosing the right knot for your needs can make a difference. Whether you’re using the Improved Clinch Knot for its reliability or the Palomar Knot for its strength, each technique has unique advantages. Have you ever wondered why some knots hold better or how a simple twist can enhance durability? Let’s explore the nuances that make these knots indispensable for every angler.
Key Takeaways
- Choose a knot suitable for the type of fishing line (e.g., monofilament or braided).
- Thread the line through the hook eye and follow specific knot steps (e.g., Improved Clinch Knot or Palomar Knot).
- Ensure to moisten the knot before tightening to reduce friction and increase strength.
- Trim excess tag ends for a neat and secure knot.
- Practice patience and precision, especially when tying more complex knots like the Blood Knot.
Selecting the Right Knot
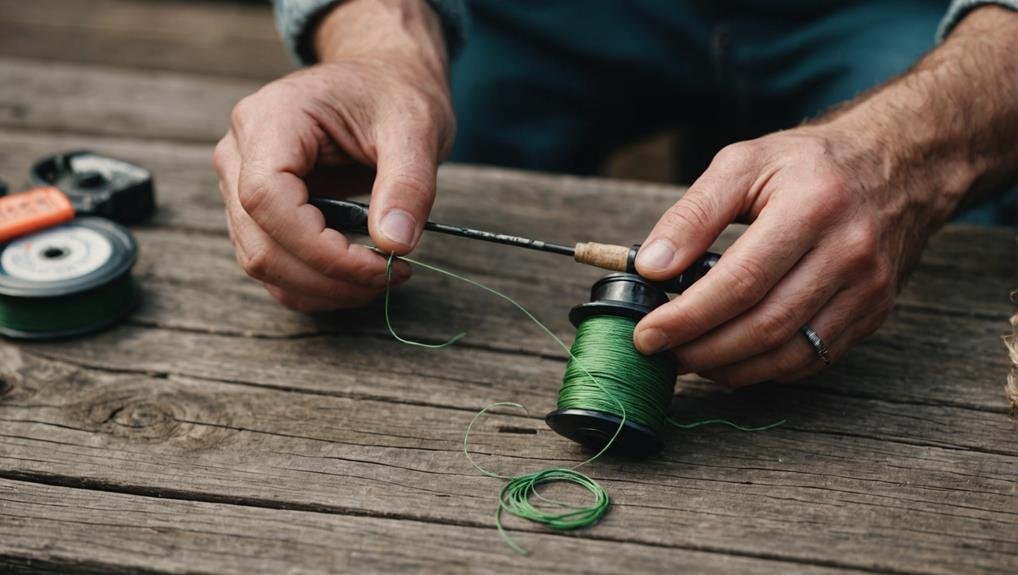
When selecting the right knot, consider the fishing line you’re using. Different lines, like monofilament and braided lines, have unique properties affecting which fishing knots will work best.
Monofilament line is known for its stretch and flexibility, making it suitable for knots that require a bit of give. On the other hand, the braided line is strong and has little to no stretch, so you’ll need a knot that can maintain its structure under load without slipping.
Choosing a compact and reliable knot is vital for effective fishing. Many fishing knots involve tightly wound turns to guarantee strength. These turns help distribute the load evenly, preventing the line from breaking under pressure. The knot structure plays a significant role here; a well-structured knot will maintain its integrity even when faced with the strain of a big catch.
Additionally, make sure the knot you select can easily run through the eyes and rings of your fishing rod. A bulky knot might get caught, disrupting your casting and retrieving process.
Prioritizing a knot that balances compactness and reliability will enhance your fishing experience.
Improved Clinch Knot
To tie the Improved Clinch Knot, thread the line through the hook eye. Pull about six inches of the line through, giving you enough to work with.
Next, wrap the tag end around the standing line six times. Ensure the wraps are neat and tight to enhance the knot’s reliability.
After wrapping, take the tag end and pass it through the small loop just above the hook eye. Then, pass it back through the larger loop you just created.
Pull the tag end and standing line simultaneously to tighten the knot. Confirm the coils are snug and neatly aligned.
Finally, trim the excess tag end, leaving a small bit for security.
The Improved Clinch Knot is known for its strength and reliability, making it a favorite among anglers. It’s especially suitable for monofilament lines but not recommended for braided lines due to its tendency to slip.
This knot is effective and relatively easy to tie, making it a great choice for securing hooks during fishing trips. Practice a few times, and it will become second nature, adding a reliable tool to your fishing arsenal.
Palomar Knot
After mastering the Improved Clinch Knot, you’ll find the Palomar Knot a straightforward and reliable option for securing your hooks. The Palomar Knot stands out for its strength and simplicity, making it a favorite among anglers. It works exceptionally well with monofilament and braided fishing lines, guaranteeing versatility in various fishing scenarios.
To tie the Palomar Knot, thread your line through the hook eye, then double it back to form a loop. Tie an overhand knot with the tag end and the standing line, but don’t tighten it yet. Next, pass the loop over the hook, ensuring it sits properly. Tighten the knot by pulling both ends of the line, and trim any excess to complete the process.
The Palomar Knot’s reliability assures you won’t lose your catch, and its ease of tying makes it perfect for anglers of all skill levels.
Here are a few reasons to love the Palomar Knot:
- Easy to learn
- Extremely strong
- Works with monofilament and braided lines
- Quick to tie
- Dependable in various fishing situations
Mastering the Palomar Knot will unquestionably enhance your fishing experience.
Turle Knot
For securing your hooks with confidence, the Turle Knot offers both strength and reliability. This knot is a favorite among anglers because it provides a dependable way to attach your hook to your fishing line.
To tie a Turle Knot, start by threading the end of the fishing line through the eye of the hook. Next, form a loop by passing the tag end over the standing line.
Now, wrap the tag end around the main line and through the loop you’ve created. Make several wraps, usually three to five, ensuring they’re tight and even. This step is important as it guarantees the knot’s strength.
Once you’ve made the wraps, pass the tag end back through the loop and pull it tight. To reduce friction and ensure maximum strength, moisten the knot before cinching it down.
Blood Knot
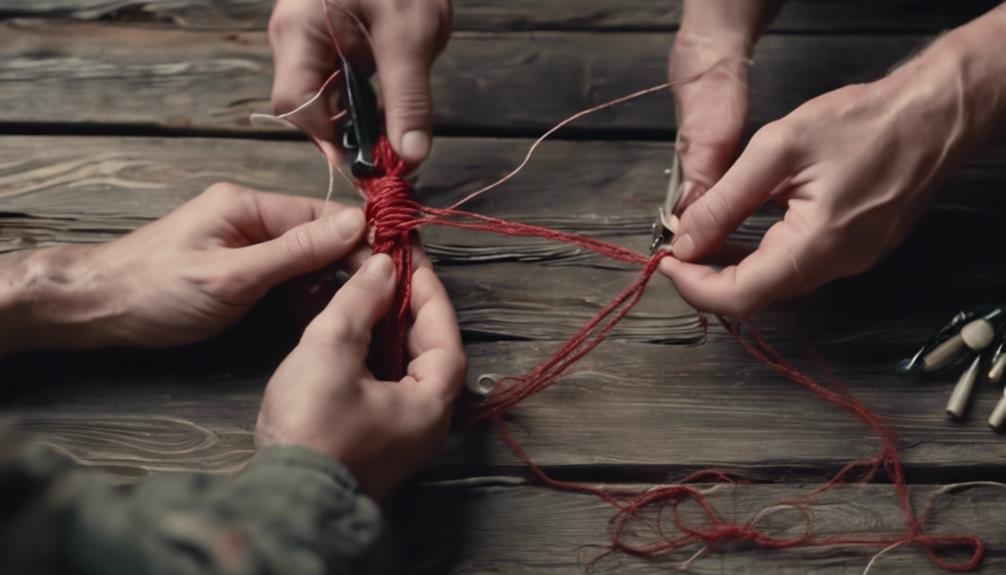
When you’re ready to tie a Blood Knot, you’ll need two fishing lines of similar diameter and a pair of scissors.
Start by overlapping and twisting the lines around each other, ensuring a secure hold.
It’s important to be aware of common mistakes, like not tightening the knot properly or leaving excess lines untrimmed, which can compromise its strength.
Materials Needed
To tie a blood knot, you’ll need two fishing lines of similar diameter. This knot is perfect for securely connecting lines and providing added strength when you’re out fishing. The right materials are important to ensure the knot holds up under tension and doesn’t slip.
Here’s what you’ll need:
- Two fishing lines of similar diameter are vital for the Blood Knot to function effectively. The lines should be strong, flexible, and suitable for your fishing environment.
- Scissors or a line cutter: Once the knot is tied, you’ll need these to trim the tag ends.
- A clean, flat surface: Working on a stable platform is easier, especially if you’re new to tying knots.
- Good lighting: Proper illumination helps you see the details clearly, making the process easier and more precise.
- Patience and focus: Tying a Blood Knot requires attention to detail and a steady hand.
Step-by-Step Process
Now that you have all the necessary materials, let’s start tying the Blood Knot step by step.
- Overlap the Lines: Begin by overlapping the ends of the two lines you want to connect. Make sure the tag ends are parallel to each other.
- Start Twisting: Twist one tag on another line at least five times. This creates the initial structure of your Blood Knot.
- Create a Loop: After twisting, bring the tag end back toward the center to create a loop.
- Repeat in Opposite Direction: Take the other tag end and repeat the twisting process in the opposite direction. Again, twist it around the other line at least five times.
- Tuck the Tag End: Carefully tuck the second tag end through the loop created in the first twisting process. Make sure both tag ends go through the loop in opposite directions.
- Tighten and Trim: Gently pull on the main lines while holding the tag ends to tighten the knot securely. Finally, trim any excess tag ends for a neat finish.
| Step | Emotion |
|---|---|
| Overlap the Lines | Anticipation |
| Start Twisting | Focus |
| Create a Loop | Excitement |
| Repeat Twisting | Determination |
| Tuck the Tag End | Confidence |
| Tighten and Trim | Satisfaction |
Common Mistakes
Often, anglers make common mistakes that can guarantee the strength and reliability of the Blood Knot. These errors can lead to lost fish and frustrating fishing experiences. Here are some pitfalls to watch out for:
- Incorrect number of twists: Too few or too many twists can weaken the knot, making it prone to breaking under pressure.
- Insufficient tightening: If you don’t pull the knot tight enough, it can slip, causing you to lose your catch.
- Uneven wraps: Uneven pressure or wraps can cause the knot to fail. Aim for consistency to ensure the knot holds.
- Inadequate lubrication: Failing to lubricate the knot before tightening increases friction, weakening the line and the knot.
- Poor trimming: Leaving tag ends too long can cause snags, making your knotless effective and more likely to catch on debris.
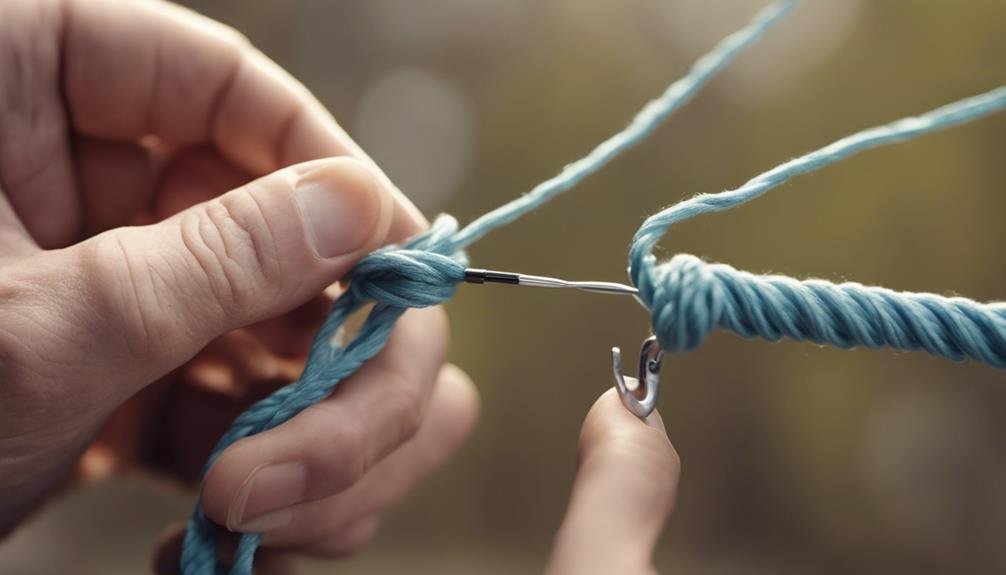
Double Surgeon’s Loop
The Double Surgeon’s Loop is a reliable and easy-to-tie knot essential for creating a strong loop at the end of your fishing line. Whether you’re using a fishing rod or need to create a leader loop, this knot guarantees a secure connection. To start, double the line and form a loop at the end. Next, create a double overhand knot by passing both ends through the loop twice. This forms the double line, giving extra strength and security.
Here’s a quick guide:
| Step | Description |
|---|---|
| 1 | Double the line to form a loop. |
| 2 | Pass the loop through itself twice. |
| 3 | Moisten the knot with water or saliva. |
| 4 | Tighten and trim excess lines. |
The Double Surgeon’s Loop is perfect for attaching hooks, swivels, or lures. It’s a versatile knot that retains excellent strength, making it a go-to for various fishing applications. Don’t forget to moisten the knot before tightening it; this helps to prevent friction and ensures a smooth, tight finish. Once secure, trim any excess line for a clean and professional look. This knot’s simplicity and effectiveness make it a favorite among anglers.
Conclusion
Now you know how to tie various fishing knots to choose the right one for your needs.
Whether you prefer the Improved Clinch Knot, Palomar Knot, Turle Knot, or the Double Surgeon’s Loop, each offers unique strengths.
Don’t forget to moisten your knots for a secure fit, and always trim the excess line.
With these skills, you can hit the water and enjoy a successful fishing experience.
Happy fishing!
FAQs
What are the most common fishing knots, and how do I tie them?
Here are some of the most commonly used fishing knots, along with step-by-step instructions:
- Clinch Knot:
- Use: The Clinch Knot is one of the most popular for tying a line to a hook, lure, or swivel.
- How to Tie:
- Thread the line through the eye of the hook.
- Wrap the tag end around the standing line 5-7 times.
- Pass the tag end through the small loop near the hook eye.
- Moisten the knot with water or saliva and pull both ends to tighten it.
- Trim the excess tag end.
- Palomar Knot:
- Use: The Palomar Knot is strong and easy to tie, making it ideal for braided or monofilament lines.
- How to Tie:
- Double about 6 inches of line and pass it through the eye of the hook.
- Tie a loose overhand knot with the doubled line, keeping the hook in the loop.
- Pass the loop over the hook.
- Moisten the knot and pull on the standing line and the tag end to tighten.
- Trim the excess tag end.
- Improved Clinch Knot:
- Use: An upgraded version of the Clinch Knot, this knot provides extra security.
- How to Tie:
- Thread the line through the hook eye and wrap the tag end around the standing line 5-7 times.
- Pass the tag end through the loop near the hook eye.
- Then, pass it through the big loop you just created.
- Moisten and pull both ends to tighten.
- Trim the excess.
- Loop Knot:
- Use: The Loop Knot creates a loop at the end of your line to attach to a hook or lure, allowing for more natural movement.
- How to Tie:
- Tie a loose overhand knot in the line.
- Pass the tag end through the eye of the hook, then back through the overhand knot.
- Wrap the tag end around the standing line 2-3 times.
- Pass the tag end back through the overhand knot.
- Moisten and pull the loop and standing line to tighten the knot.
- Trim the excess tag end.
How do I choose the right knot for my fishing needs?
Choosing the right fishing knot depends on several factors:
- Type of Line:
- Consideration: Some knots work better with specific types of lines (e.g., braided, monofilament, fluorocarbon). For example, the Palomar Knot is excellent for braided lines, while the Clinch Knot works well with monofilament.
- Fishing Technique:
- Consideration: Consider your fishing technique. If you need a strong knot that holds up under heavy pressure, the Palomar Knot or Improved Clinch Knot is a good choice. A loop knot might be better for more movement of the bait or lure.
- Ease of Tying:
- Consideration: If you’re a beginner or need to tie knots quickly, choose a simple knot like the Clinch Knot or Palomar Knot, which are easy to tie and reliable.
- Strength:
- Consideration: If knot strength is a priority (such as when targeting large or strong fish), use knots known for their strength, like the Improved Clinch Knot or Palomar Knot.
What are some tips for tying strong fishing knots?
To ensure your fishing knots are strong and reliable, follow these tips:
- Moisten the Knot:
- Tip: Always moisten the knot with water or saliva before tightening it. This reduces friction and heat, which can weaken the line.
- Tighten Slowly and Evenly:
- Tip: Pull the knot tight slowly and evenly, making sure all parts of the knot cinch down smoothly without overlapping or twisting. This ensures the knot is secure and strong.
- Trim Excess Line:
- Tip: After tightening the knot, trim the tag end close to the knot, but leave a small amount of line to prevent slippage.
- Practice:
- Tip: Practice tying knots before fishing, especially if using a new one. The more you practice, the more confident and efficient you’ll become at tying strong knots.
- Check Knots Regularly:
- Tip: Check your knots regularly while fishing, especially after catching a fish or if the line has been under strain. Retie the knot if there’s any sign of weakening or slippage.
What mistakes should I avoid when tying fishing knots?
Avoid these common mistakes to ensure your fishing knots are strong and reliable:
- Not Tightening the Knot Properly:
- Mistake: Failing to pull the knot tight can result in a weak knot that may slip or come undone. Always ensure your knot is cinched down firmly.
- Skipping Moistening:
- Mistake: Not moistening the knot before tightening can cause friction and heat, weakening the line and reducing the knot’s strength.
- Using the Wrong Knot for the Line Type:
- Mistake: Some knots don’t work well with certain line types. For example, a knot that works for monofilament may not be as effective for braided lines. Choose the right knot for your line.
- Leaving Too Much or Too Little Tag End:
- Mistake: Too much tag end can cause snags, while too little can result in the knot slipping. Trim the tag end to an appropriate length.
You’ll be well-equipped to tie strong, reliable fishing knots for any situation by mastering these knots and following these tips. Whether you’re a beginner or an experienced angler, knowing how to tie the right knot can make all the difference in your fishing success.